
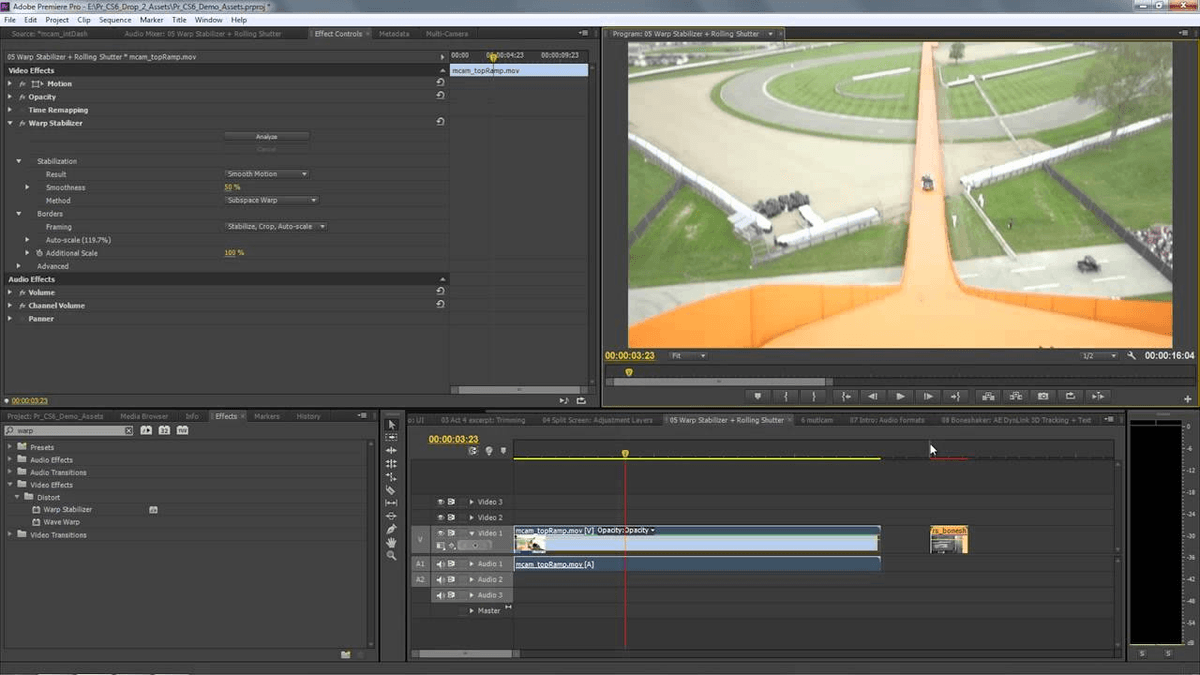
Premiere Pro won’t let you apply Warp Stabilizer to a clip you’ve either sped up or slowed down. If your camera shakes too much, and there’s too much motion blur within your clip, the tool won’t have the information it needs to track and stabilize your footage. All it’s really doing is creating an artificial box-within-a-box to create the illusion of a smoothed-out shot. The Warp Stabilizer tool is effective, but it can’t perform magic. So, what are the reasons why your clip might not work well with warp stabilizer? It’s not a once-size-fits-all kind of effect - you might throw the effect on there, and it becomes more shaky than before. Warp Stabilizer can be a finicky little tool. This’ll take a minute, but you shouldn’t have to wait too long. You can also click and drag the Warp Stabilizer option over to your clip.Īfter executing the first step, Premiere Pro will analyze the clip. Open up Effects, and choose Video Effects. Scroll down to Distort, and double-click Warp Stabilizer. This task is very simple - you’re only seconds away from correcting an “unusable” shot. Cleaning it up with the Warp Stabilizer is a more common occurrence than you might think. You may have shaky footage because you were shooting handheld or you didn’t have access to a gimbal. One of the most basic must-know video editing tricks is stabilizing shaky footage. Here’s how you can stabilize it in post in Adobe Premiere Pro. Shaky footage can totally throw off the momentum of your video.